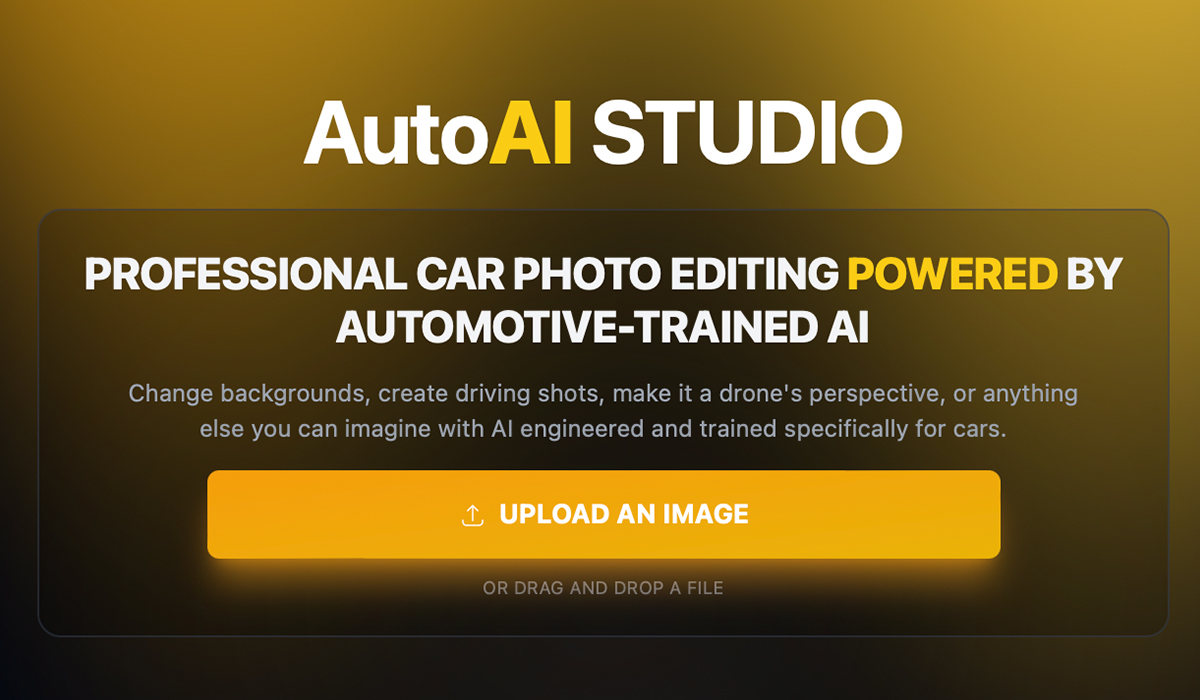
Whether you're a professional automotive photographer refining your workflow or an enthusiast who just wants to share a jaw-dropping photo instantly, Auto AI Studio delivers unmatched results. If you're looking to replace car photo backgrounds with AI, you've come to the right place.
Unlike generic AI editors, Auto AI Studio is trained specifically on car photography — understanding curves, paint surfaces, reflections, metallic hues, and even tire gloss. That means the AI knows what should stay (like headlight reflections) and what should go (like distracting clutter or uneven lighting).
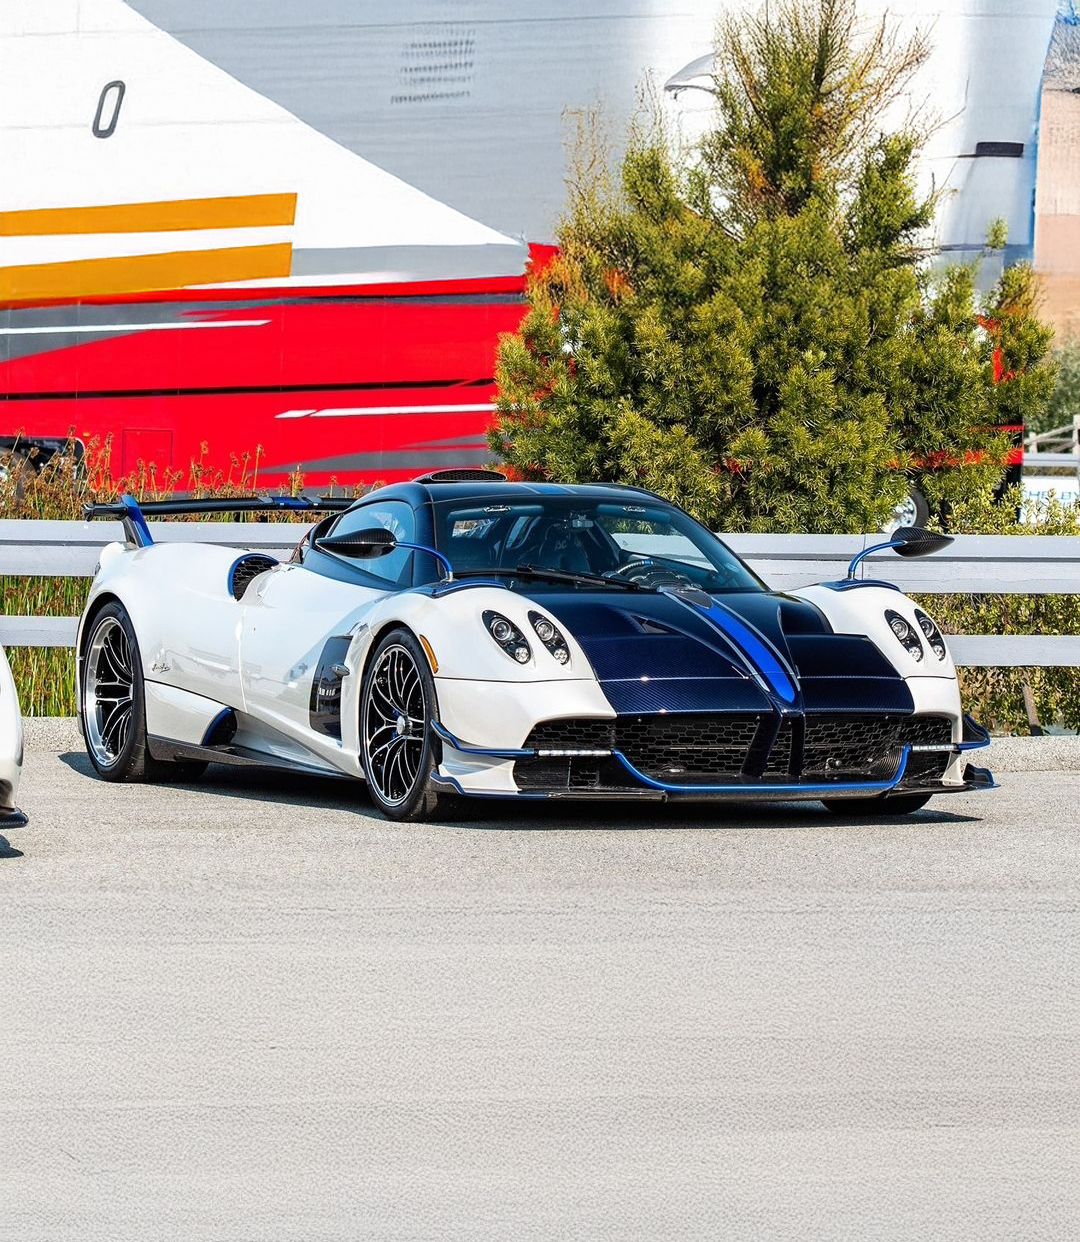
Before
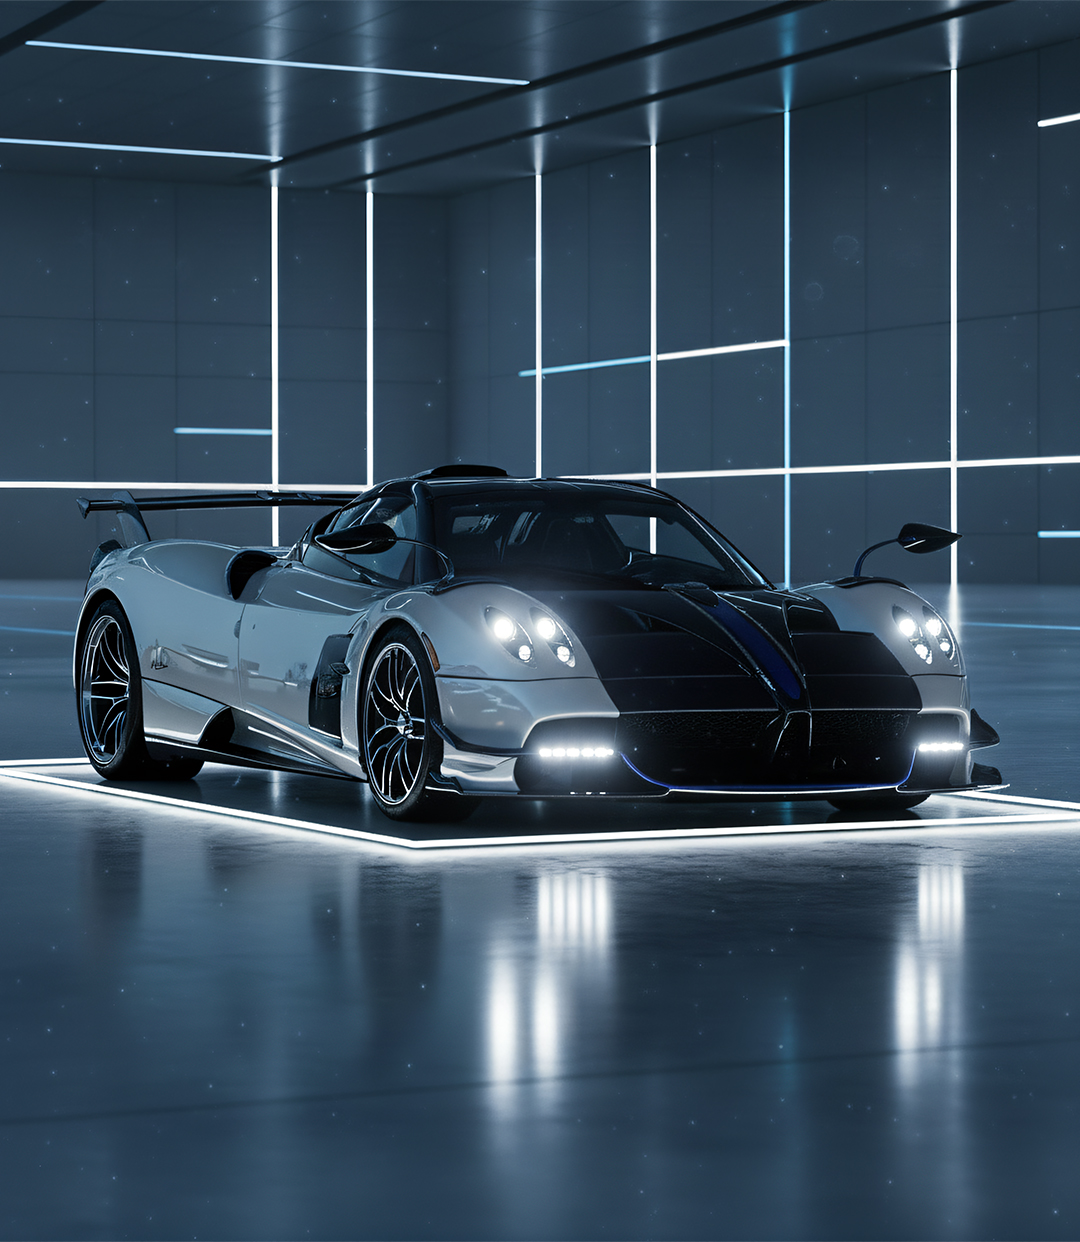
After
Why Auto AI Studio Is the Go-To for Automotive Background Replacement
The result? Faster edits, cleaner compositions, and images that look like they were shot in a pro studio — even if they were taken in your driveway.
Auto AI Studio also fits any workflow:
- Instant social-media creation: Edit → Replace → Share, all inside the app.
- Professional integration: Export high-res, reflection-accurate composites for fine-tuning in Photoshop or Lightroom.
Why Background Replacement Matters in Car Photography
Great car photos are 50% composition and 50% environment. Even if your lighting and framing are perfect, a cluttered or dull background instantly reduces impact.
Traditional editing meant masking by hand — outlining every curve and rim edge, adjusting reflections, cloning out noise — an hour-long task per image. AI background replacement reduces that to seconds while maintaining realism:
- One-click isolation of vehicle edges and contours
- Automatic light and shadow balancing
- Reflection-aware paint correction to match new surroundings
- Time savings for large-batch workflows
With Auto AI Studio, you can keep creative control while skipping all the busywork.
How It Works — The AI Under the Hood
- Car Detection & Segmentation — The AI identifies the car body, glass, wheels, and reflections separately.
- Background Removal — Original environment is stripped while surface highlights are preserved.
- Environment Matching — When a new background is applied, Auto AI Studio recalibrates lighting, color temperature, and reflection tone.
- Final Blend & Render — Output is composited at native or 4K resolution for posting or pro retouch.
Step-by-Step Guide: Replace Your Car Photo Background
1. Upload Your Photo
Use a clear, well-lit image. Auto AI Studio automatically analyzes and isolates the car.
2. Try Our AI Creative Director
Get quick and fine tuned inspiration based on the vehicle.
- Clean Professional — for listings, showrooms, consistent branding.
- Creative Cinematic — for dramatic edits like neon cities or desert roads.
3. Or Use Custom Prompts
Type what you want:
- "Sunset desert highway with soft orange glow."
- "Rooftop parking garage at night with city lights."
- "Wet city street at night, reflections on pavement."
The model adapts color and reflections accordingly.
4. Generate and Compare
In seconds, use the compare button below the preview image to see the before and after. Inspect reflections, wheels, and paint tone.
5. Upscale to 4K (Optional)
Enhance detail for social posts, print, or pro editing.
6. Export and Share
Download instantly or post directly from the platform.
Pro Tips for Perfect Results
- Upload sharp, high-res images — detail helps the AI edge-detect better.
- Match lighting direction between car and chosen background.
- Use specific prompts ("wet racetrack at dusk," not just "racetrack").
- Avoid over-saturation; keep edits realistic.
- Maintain consistent background style for multi-car sets.
- Combine with Color Grade AI or Motion FX for even more realism.
Why It Works for Everyone
Dealerships & Shops
Batch-edit dozens of cars for consistent listings.
Photographers
Save time on client sets while maintaining pro-level quality.
Enthusiasts & Creators
Make stunning content without editing knowledge.
Make every photo look like a studio shot.
Try Auto AI Studio today and get 10 free edits — no subscription required.
Start Free and Replace Your First Background →Ready to take your automotive photography to the next level? Explore our other tutorials: